在Linux主機上透過金鑰免輸入密碼登入其他台Linux(SSH Server)這是很常見的應用,但這是如何設定的呢?快跟著小編一起來了解吧!
情境說明:
有兩台Linux主機,分別為「A 設備」跟「B設備」,「A設備」想透過金鑰免輸入密碼的方式SSH登入到「B設備」。
步驟一:
在 A 設備 (Client 端) 產生 SSH金鑰
ssh-keygen -t rsa -b 4096
※指令說明:
ssh-keygen: 產生金鑰的指令。
-t rsa: 指定使用 RSA 加密演算法。
-b 4096: 指定金鑰位元長度(4096 位元更安全,預設通常是 2048)。
執行過程,系統會提示您回答幾個問題:
Enter file in which to save the key… (~/.ssh/id_rsa):
直接按 Enter 使用預設路徑和檔案名稱 (id_rsa 私鑰, id_rsa.pub 公鑰) 即可。
Enter passphrase (empty for no passphrase):
重要: 為了實現免密碼登入,請直接按 Enter 留空。
如果設定了密碼,每次使用這把金鑰登入時,都需要輸入該密碼。
Enter same passphrase again:
直接按 Enter 確認留空。
成功後,您的金鑰會儲存在使用者家目錄下的 .ssh 資料夾中:
~/.ssh/id_rsa: 私鑰 (Private Key),極度重要,請務必妥善保管,不可外洩!
~/.ssh/id_rsa.pub: 公鑰 (Public Key),可以公開。
步驟二:
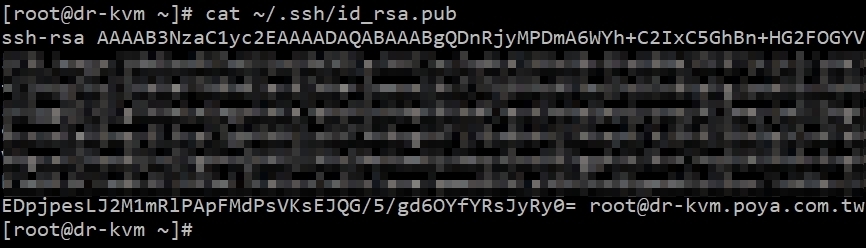
取得A 設備 (Client 端) 產生 SSH 公鑰內容資訊
cat ~/.ssh/id_rsa.pub
步驟三:
在 B 設備上,檢查並建立「.ssh」目錄和 「authorized_keys 」檔案,並設定權限:
(1)、建立「.ssh」目錄
mkdir -p ~/.ssh
chmod 700 ~/.ssh
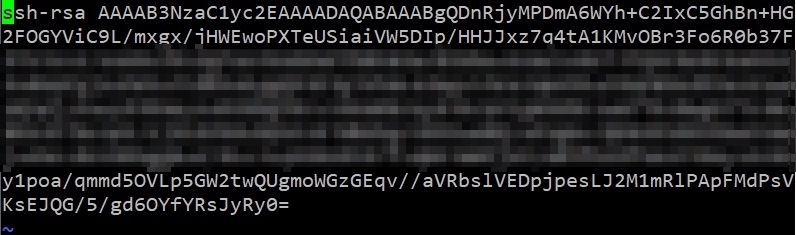
(2)、將「 A 設備」的公鑰貼到 authorized_keys 檔案末端
vim ~/.ssh/authorized_keys
(3)、設定 authorized_keys 檔案權限
chmod 600 ~/.ssh/authorized_keys
步驟四:
「 A 設備」測試免密碼登入
ssh [使用者帳號]@[設備BIP]